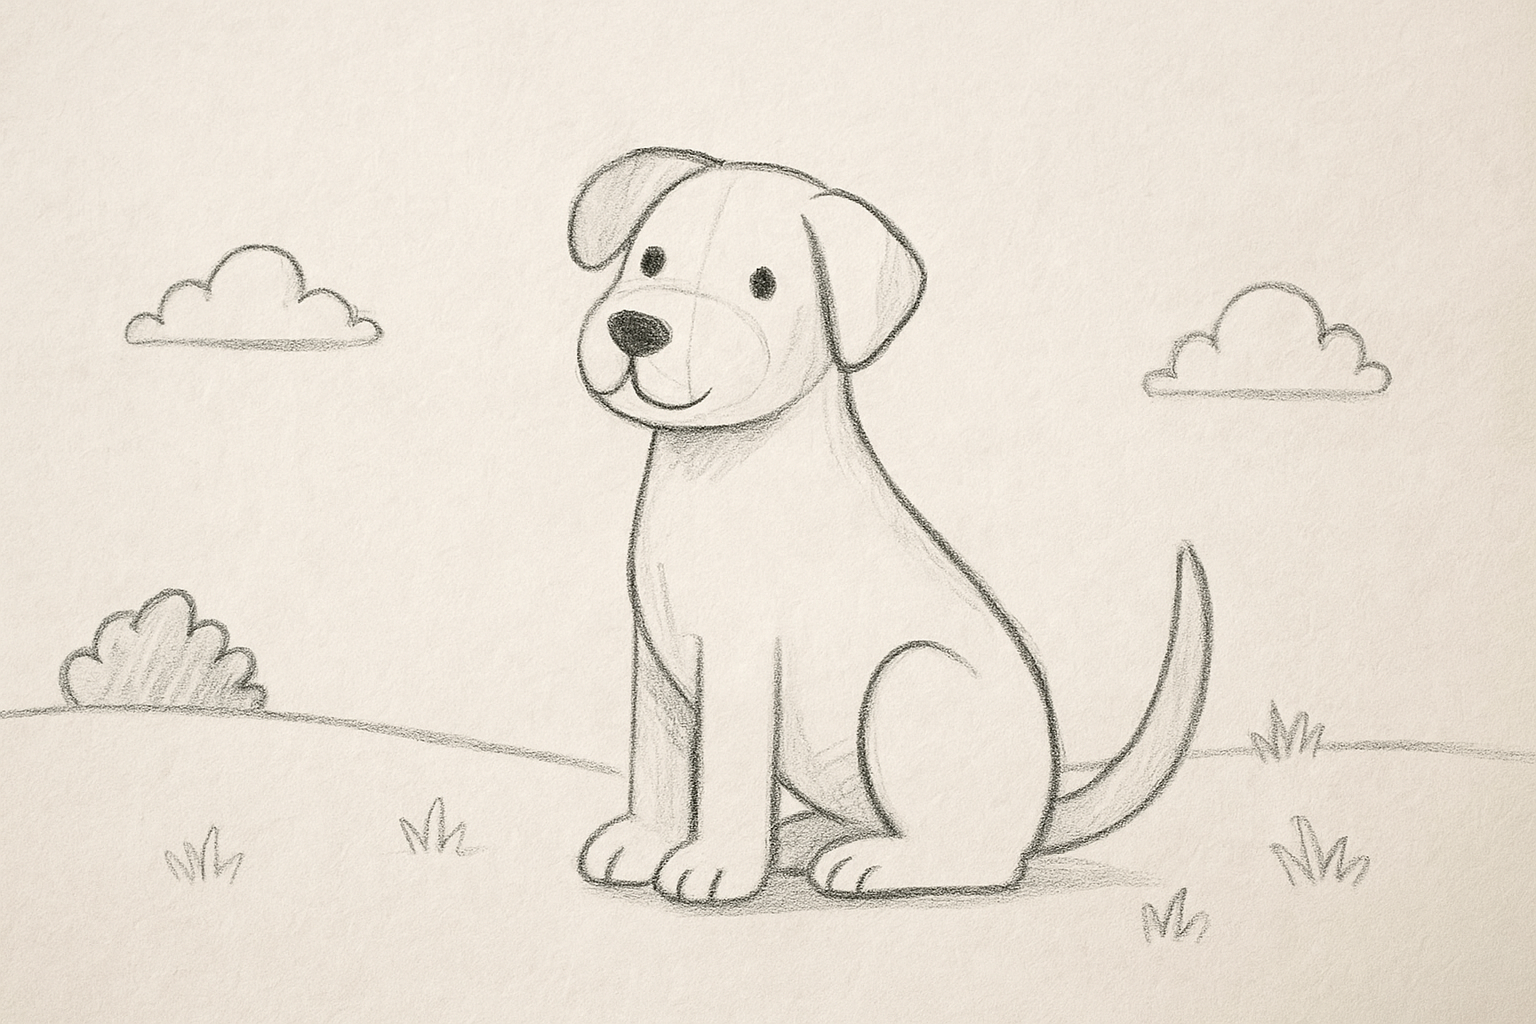
Why Learn How to Draw a Dog?
Before we jump into the actual drawing steps, let’s understand why learning to draw a dog is a great starting point:
- Familiar Subject: Most people are familiar with dogs’ basic features—ears, tails, and paws—making them less intimidating to draw.
- Good for Practicing Proportions: Dogs have distinct body proportions that help beginners improve their observation and measurement skills.
- Versatility: Once you learn the basics, you can adapt them to draw various dog breeds or even cartoon versions.
- Creative Satisfaction: Seeing your dog drawing come to life on paper is rewarding and motivating.
Tools You Will Need
To get started, you don’t need expensive art supplies. Basic tools are enough:
- Paper – Any sketchbook or regular drawing paper.
- Pencil – A simple HB pencil works well.
- Eraser – For correcting mistakes.
- Sharpener – To keep your pencil fine for details.
- (Optional) Colored pencils or markers if you want to add color.
Understanding Dog Anatomy: The Foundation
Before you learn how to draw a dog, it’s important to understand the basic structure:
- Head: Dogs’ heads can be round or elongated, depending on the breed.
- Body: Usually oval or rectangular in shape.
- Legs: Front legs are usually straight; back legs have a slight curve.
- Tail: Can be short, long, curly, or straight.
- Ears: Pointy, floppy, or semi-floppy depending on the dog.
Keeping these shapes in mind will help you break down complex forms into simple lines and circles.
Step-by-Step Guide: How to Draw a Dog
Follow these steps carefully:
Step 1: Draw the Basic Shapes
Start with a simple oval for the body. Add a smaller circle on top (slightly overlapping) for the head. Sketch lightly so you can erase later.
Step 2: Add Guidelines
Draw a vertical line through the head circle to help place the eyes and nose symmetrically. A horizontal line across the middle will indicate where the eyes should go.
Step 3: Sketch the Legs
From the body oval, draw four simple lines for legs. At the bottom of each line, add small oval shapes to represent paws.
Step 4: Outline the Head
Add two small circles for the eyes along the horizontal guideline. Place a rounded triangle shape at the bottom center for the nose. Draw the muzzle (snout) as a short rectangle connecting the nose to the head.
Step 5: Add the Ears
Depending on the type of dog you want, draw either floppy ears (soft curved lines) or pointy ears (triangular shapes).
Step 6: Define the Body
Connect the head to the body smoothly with curved lines for the neck. Make the body slightly wider near the chest and narrower towards the back.
Step 7: Draw the Tail
Sketch a curved line coming from the rear. You can make it fluffy or thin based on your chosen dog breed.
Step 8: Add Fur and Details
Go over your sketch to add small fur strokes, details around the eyes, and define the paws.
Step 9: Ink or Darken the Final Lines
Once satisfied, darken the main outlines or use a pen for a clean look. Erase unnecessary guidelines.
Step 10: Shade or Color
Add light shading to make your dog look three-dimensional. You can also color it using brown, black, or white tones depending on the breed.
Tips for Better Dog Drawings
- Practice with Different Breeds: Try sketching a Labrador, a Poodle, or a Bulldog to understand various shapes.
- Observe Real Dogs: Look at photographs or watch dogs in real life to study posture and expressions.
- Start Simple: Don’t aim for hyper-realistic details at the beginning. Focus on proportion first.
- Use Light Pencil Strokes: Easier to erase and adjust.
- Draw Regularly: Consistency improves your skill faster.
Common Mistakes to Avoid
- Incorrect Proportions: Make sure the head isn’t too large or too small for the body.
- Flat Legs: Legs should have slight curves and joints, not just straight sticks.
- Ignoring Guidelines: Skipping construction lines makes it harder to achieve symmetry.
- Overloading with Details Too Early: Focus on basic shapes first before adding fur or textures.


Leave a Reply