What Does “Descaling” Mean?
Descaling is the process of removing mineral buildup (usually calcium and limescale) that accumulates inside your coffee maker over time, especially if you use hard water. These deposits can clog the water lines, reduce heating efficiency, and affect the flavor of your coffee.
Descaling ensures:
- Better tasting coffee
- A longer-lasting machine
- Quicker brew times
- Fewer mechanical issues
What Happens If You Don’t Descale Your Keurig?
If you don’t descale your Keurig regularly, the buildup can lead to:
- Slow brewing or no brewing at all
- Weak or bad-tasting coffee
- “Descale” warning lights
- Potential machine damage over time
How Often Should You Descale Your Keurig?
Keurig recommends descaling every 3 to 6 months, but it depends on:
- How often you use it
- The type of water you use (hard water = more buildup)
- If your model has a descale alert, follow it
Tip: Using filtered or bottled water reduces scale buildup.
What You’ll Need to Descale Your Keurig
You can use:
- Keurig Descaling Solution (official, safe option)
- White Vinegar (cheap and effective)
- Fresh water (for rinsing)
- A large ceramic mug
- A clean sink
How to Descale Keurig: Step-by-Step Instructions
Method 1: Using Keurig Descaling Solution
- Power Off the Machine
Empty the water reservoir. Remove any used pods. - Prepare the Descale Solution
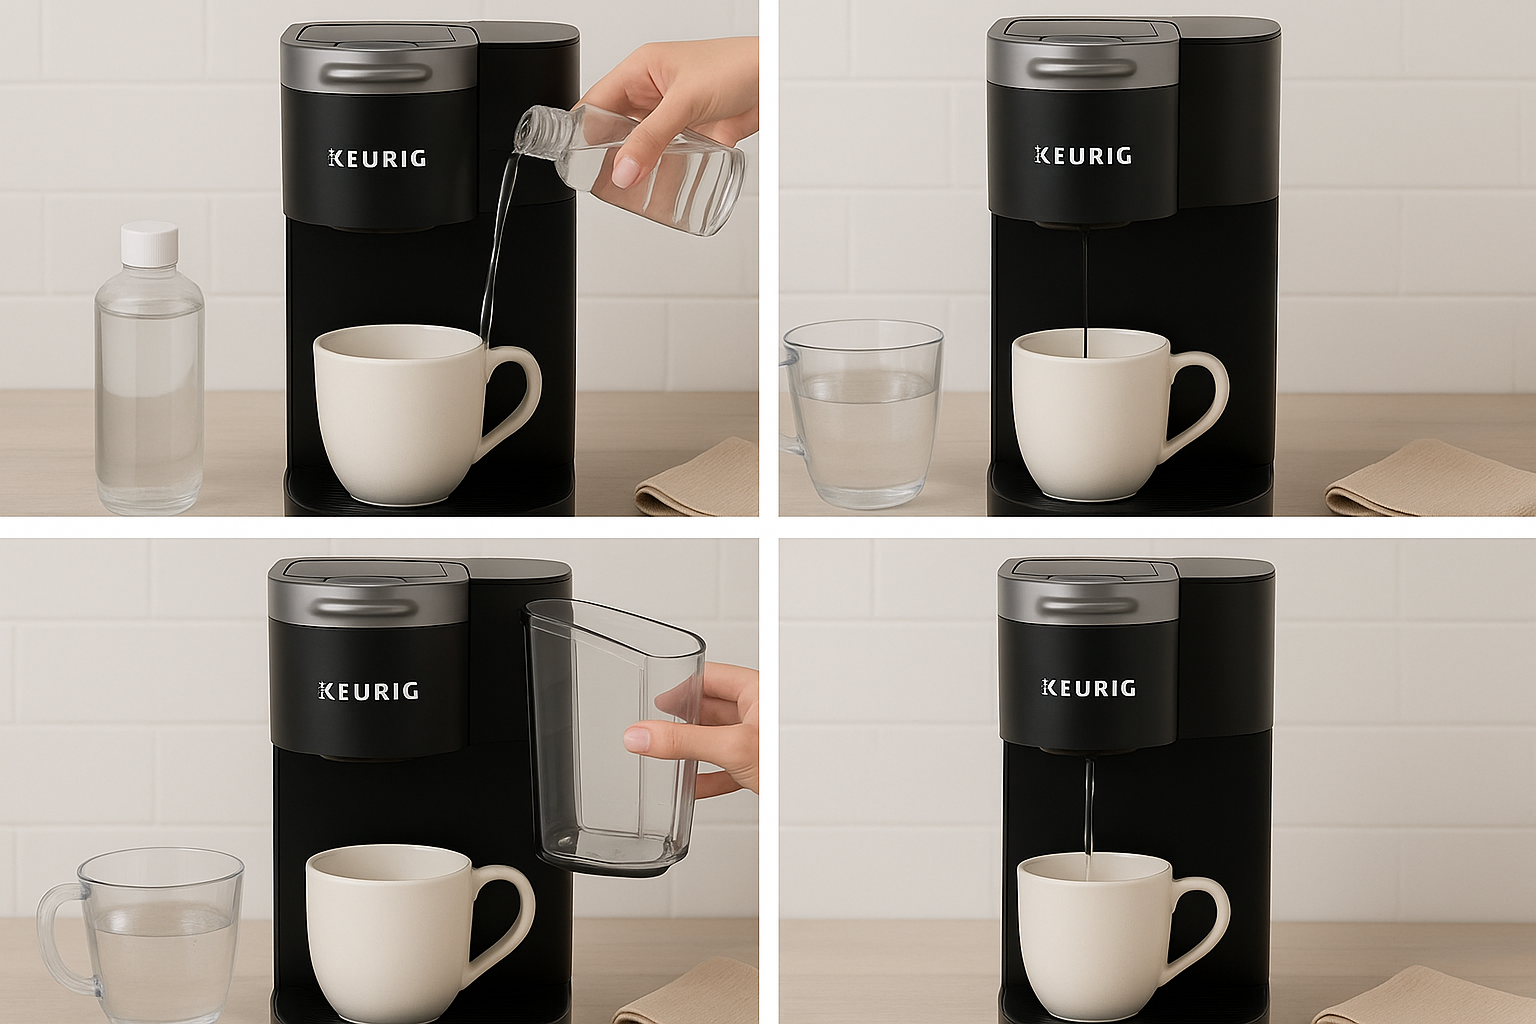
Mix one bottle of Keurig Descaling Solution with 10 oz of water (check the bottle instructions). - Pour Into Water Tank
Fill the reservoir with the solution-water mix. - Start the Brew Cycle
- Place your mug on the drip tray.
- Power on the machine.
- Start brewing (without a pod).
- Repeat until the tank is empty.
- Let It Sit (Very Important!)
After the last brew, let the machine sit for 30 minutes. This allows the solution to break down all mineral deposits inside. - Rinse the Reservoir
Empty any remaining solution and rinse the tank thoroughly with clean water. - Run Fresh Water Rinse Cycles
Fill the tank with fresh water and run multiple brew cycles until the water no longer tastes or smells like descaling solution (usually 3–5 rinses).
Method 2: Using White Vinegar (DIY Alternative)
- Mix the Vinegar Solution
Use a 1:1 ratio of white vinegar and water. For example, 10 oz vinegar + 10 oz water. - Pour It In
Fill the reservoir with the vinegar solution. - Brew and Pause
Brew without a pod. After a few cycles, pause and let it sit for 30 minutes. - Complete the Vinegar Brew
Continue brewing until the reservoir is empty. - Flush With Clean Water
Refill the reservoir with water only and brew several times to remove vinegar taste and smell.
Extra Tips for Maintaining Your Keurig
- Use filtered water to reduce mineral buildup
- Wipe the machine regularly, especially the pod holder
- Clean the water reservoir weekly
- Replace the water filter every 2 months (if your model uses one)
- Run a water-only brew after each cup to keep the needles clean
Signs Your Keurig Needs Descaling
- Brew time is slower than usual
- Coffee tastes off or weaker
- Machine is noisier
- “Descale” light comes on
- Water doesn’t fully dispense
Descaling by Model: Quick Notes
Most Keurig models follow the same process, but here are a few specific notes:
- Keurig K-Classic / K-Select / K-Elite: Follow steps above.
- Keurig 2.0 / K-Supreme / K-Duo: Some have a descale mode – check your user manual.
- K-Mini / K-Mini Plus: Use less solution and water since the reservoir is smaller.
What NOT to Do
- Don’t use bleach or harsh chemicals
- Don’t skip rinsing – leftover solution can affect taste
- Don’t put vinegar in a Keurig with a descaling sensor unless approved


Leave a Reply