1. Understand What Makes a Dragon Look Like a Dragon
Before you pick up your pencil, spend a moment thinking about what features make a dragon recognizable. Dragons aren’t real animals, so there’s no strict anatomy. However, most traditional dragons share certain characteristics:
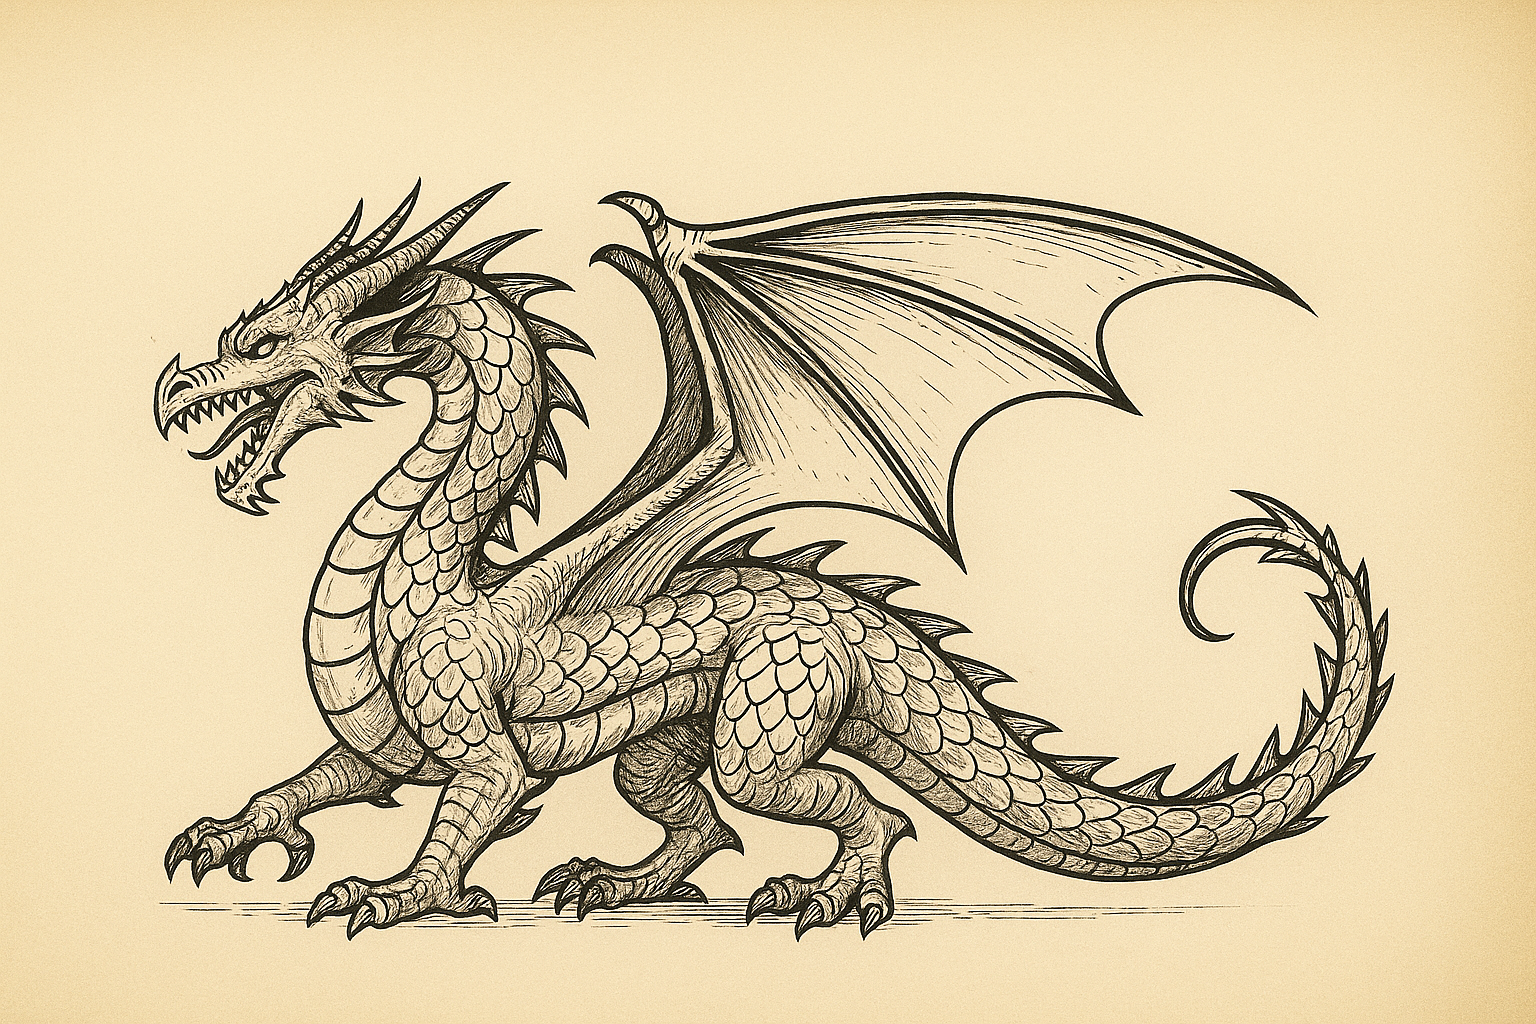
- Head and horns: Dragons usually have elongated heads, sharp teeth, and sometimes horns or spikes.
- Body shape: They often have a muscular torso, strong legs, and a long tail.
- Wings: Many dragons are depicted with large, bat-like wings.
- Scales and claws: Textures like scales, and details such as claws and fangs, make them look fierce.
- Eyes and expression: A dragon’s eyes can give it a powerful, wise, or dangerous look.
Knowing these elements will help you decide how your dragon should look before you even start drawing.
2. Gather Your Tools
You don’t need expensive equipment. For practicing how to draw a dragon, start with:
- A basic pencil (HB or 2B)
- An eraser
- Plain paper
- Optional: colored pencils or markers for finishing touches
3. Start With Basic Shapes
Every complex drawing begins with simple forms. If you want to learn how to draw a dragon easily, think of its body as a combination of circles, ovals, and lines.
- Draw the head: Start with an oval or circle.
- Add the body: Sketch a larger oval below the head.
- Create the neck and tail: Use curved lines to connect the head to the body and extend another line for the tail.
- Place the limbs: Use small circles for joints (shoulders, knees) and lines for arms and legs.
- Add wings: Think of them as large triangles attached to the back.
This step is about proportion, not detail. Keep your pencil strokes light because you’ll erase these later.
4. Define the Dragon’s Anatomy
Once you have the basic skeleton, start shaping it into a dragon:
- Thicken the neck, torso, and tail to make them look strong.
- Sketch the wings with bones and membranes (similar to bat wings).
- Add claws to the feet and spikes to the back if you want a fierce look.
5. Draw the Head and Face
The dragon’s face will give it personality. When focusing on how to draw a dragon head, try:
- Adding horns that curve backward or upward.
- Drawing sharp teeth inside an open mouth.
- Giving it almond-shaped eyes with slit pupils for a reptilian look.
- Adding scales on the snout for realism.
6. Work on the Details
This is the stage where your dragon begins to look alive:
- Add scales—small U-shaped lines can work.
- Define muscles on the legs, chest, and arms.
- Draw textures on the wings.
- Add spikes, frills, or whiskers depending on your chosen style.
7. Finalize the Drawing
- Darken the main outlines.
- Erase unnecessary construction lines.
- Shade areas to create depth—under the wings, around the neck, and beneath the belly.
- If coloring, choose a palette. Classic dragons are green or red, but yours can be blue, black, or even metallic.
8. Practice Different Styles
Once you’ve learned the basics, experiment with various dragon styles:
- Western dragons: Large, winged, and powerful—often seen in European myths.
- Eastern dragons: Serpentine, wingless, and elegant—common in Chinese and Japanese art.
- Cartoon dragons: Cute and simplified, perfect for kids’ illustrations.
- Realistic dragons: Highly detailed, almost like real animals.
9. Common Mistakes to Avoid
- Making wings too small—dragons need large wings to look believable.
- Ignoring symmetry—make sure both sides of the body match.
- Overloading with details—too many spikes and lines can make the drawing messy.
10. Keep Practicing
The key to mastering how to draw a dragon is repetition. Each time you draw, you’ll improve your proportions, details, and style.


Leave a Reply