1. Understand Why You Need to Know How to Change a Tire
Before diving into the steps, it’s important to understand why this skill matters:
- Emergency readiness: Roadside assistance may not always be available.
- Safety: A quick tire change can get you out of a dangerous spot.
- Independence: You won’t have to rely on others or wait hours for help.
- Cost-saving: Avoid unnecessary towing fees or service charges.
2. What You Need Before You Start
To successfully change a tire, you should have the following tools (usually found in your car’s trunk):
- Spare tire: Ensure it is properly inflated and in good condition.
- Car jack: A mechanical device used to lift your car.
- Lug wrench (tire iron): For loosening and tightening lug nuts.
- Owner’s manual: Your car’s guide may contain specific instructions.
- Wheel wedges or bricks: To prevent the car from rolling.
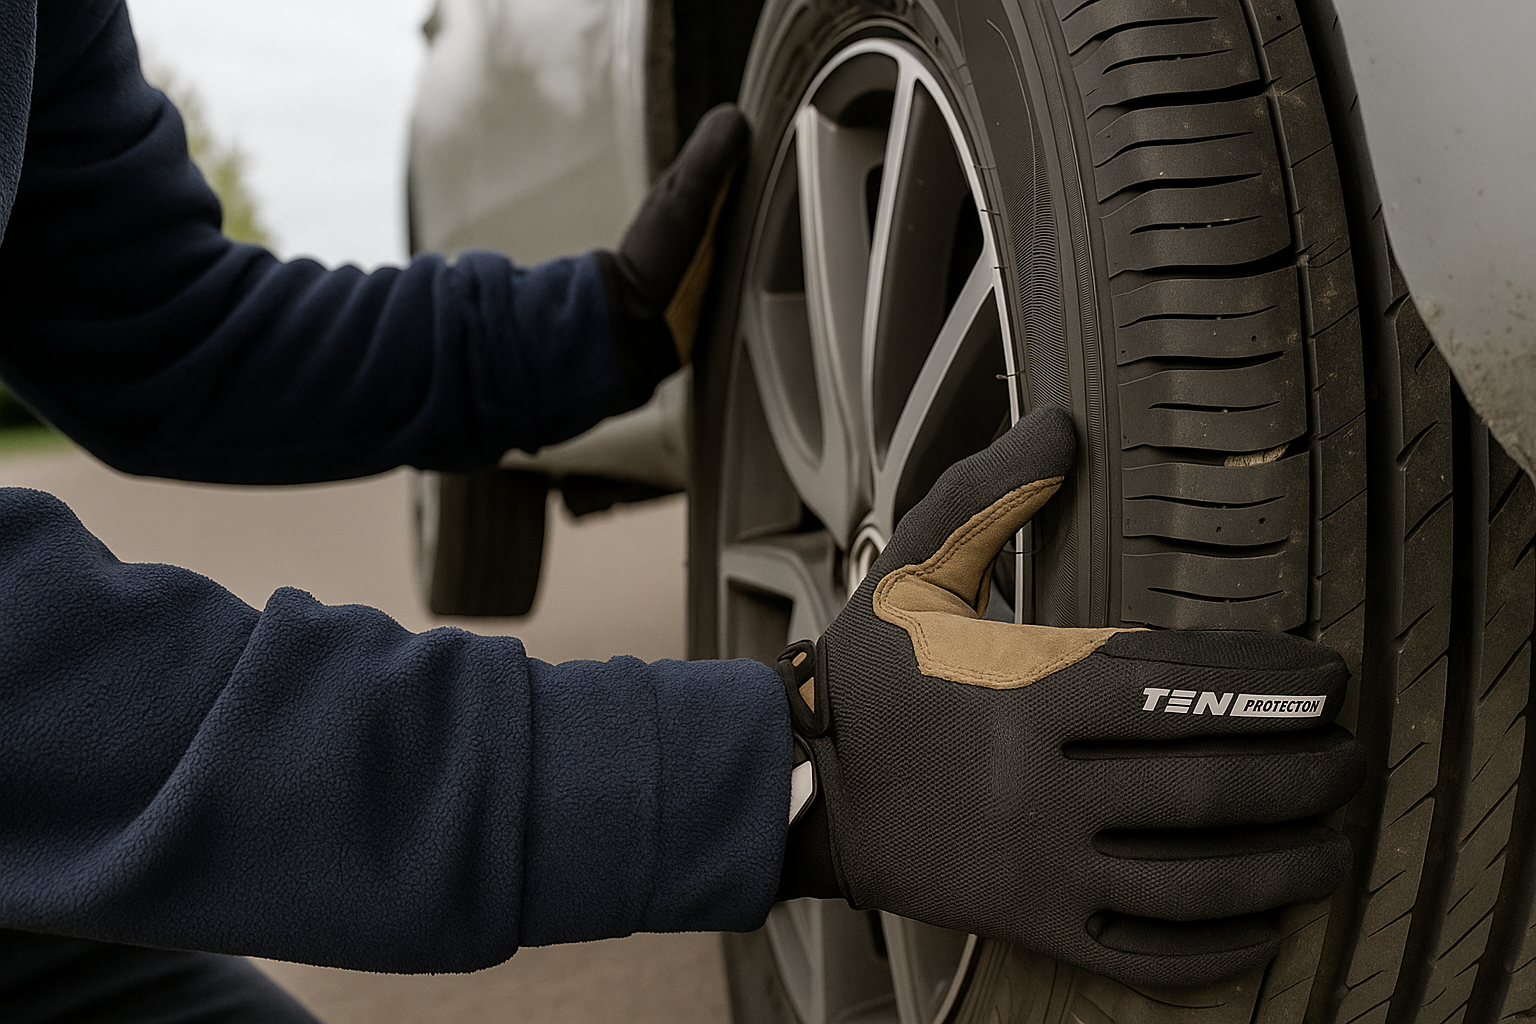
- Gloves and flashlight: Optional, but helpful for safety and visibility.
- Tire pressure gauge: To check the air level in the spare.
3. Safety First: Preparing to Change the Tire
Before touching any tools, make sure you are safe:
- Move to a secure location: If your tire blows on a highway, slowly pull over to the shoulder or exit the road.
- Turn on hazard lights: This alerts other drivers that you are stopped.
- Engage the parking brake: Prevents the car from rolling.
- Place wheel wedges: Put them in front of or behind the tires opposite the flat one.
4. Step-by-Step: How to Change a Tire
Follow these steps carefully:
a) Loosen the Lug Nuts (Before Lifting the Car)
- Use the lug wrench to turn each nut counterclockwise.
- Do not remove them completely yet; just break their tight grip.
- Some cars may have hubcaps—remove them first.
b) Position and Raise the Jack
- Locate the correct jack point (check your manual).
- Place the jack under the frame near the flat tire.
- Turn the jack handle to lift the tire off the ground.
c) Remove the Lug Nuts and Flat Tire
- Fully unscrew the lug nuts and keep them in a safe place.
- Carefully pull the flat tire straight toward you and set it aside.
d) Mount the Spare Tire
- Align the holes on the spare with the lug bolts.
- Push the spare tire onto the hub until it sits snugly.
e) Hand-Tighten the Lug Nuts
- Put the lug nuts back on by hand to hold the tire in place.
- Do not tighten them fully yet.
f) Lower the Car and Fully Tightenhttps://trainual.com/manual/step-by-step-guide-how-to-change-a-tire-easily
- Slowly lower the car until the tire touches the ground but is not bearing full weight.
- Use the wrench to tighten each lug nut in a star or crisscross pattern.
- Once secure, lower the car completely and remove the jack.
5. After Changing the Tire
You’re not done yet:
- Check tire pressure: Make sure the spare has enough air.
- Drive cautiously: Spare tires (especially “donuts”) are temporary.
- Get your flat repaired or replaced: Visit a tire shop as soon as possible.
6. Common Mistakes to Avoid
- Forgetting to loosen lug nuts before jacking the car.
- Not tightening lug nuts evenly, which can cause wheel wobbling.
- Using an underinflated spare tire.
- Changing a tire on soft ground where the jack can sink.
7. Quick Tips for Easier Tire Changes
- Practice changing a tire in your driveway when you’re not under pressure.
- Keep a small emergency kit in your car (gloves, flashlight, reflective vest).
- Regularly check your spare tire’s condition.


Leave a Reply