Why Is My iPhone Not Charging?
Before we dive into cleaning methods, let’s look at a few common reasons why your iPhone may not be charging:
- Dirty or clogged charging port
- Damaged charging cable or adapter
- Software glitch
- Battery or hardware issue
If your charger works fine with other devices, and your iPhone charges only when the cable is pushed in or held at an angle, chances are your charging port is dirty. That’s the first thing to check.
Tools You’ll Need to Clean iPhone Charging Port
Cleaning your iPhone’s charging port doesn’t require fancy equipment. You just need a few safe and simple tools:
- A non-metallic toothpick or plastic SIM ejector pin
- A soft brush (like a clean, dry toothbrush or anti-static brush)
- A can of compressed air (optional, but helpful)
- A bright flashlight or your phone’s flashlight
Important Safety Tips Before You Start
- Never use metal objects (like needles, pins, or paperclips) to clean the port — they can damage internal components.
- Do not use water, alcohol, or liquid cleaners inside the port.
- Power off your iPhone before cleaning.
- Be gentle — the charging port is delicate and can be easily damaged.
Step-by-Step Guide: How to Clean iPhone Charging Port
1. Turn Off Your iPhone
Always power off your device before cleaning to avoid accidental short circuits or damage.
2. Inspect the Charging Port
Use a flashlight to look inside the charging port. If you see lint or dust packed in there, it’s time for cleaning.
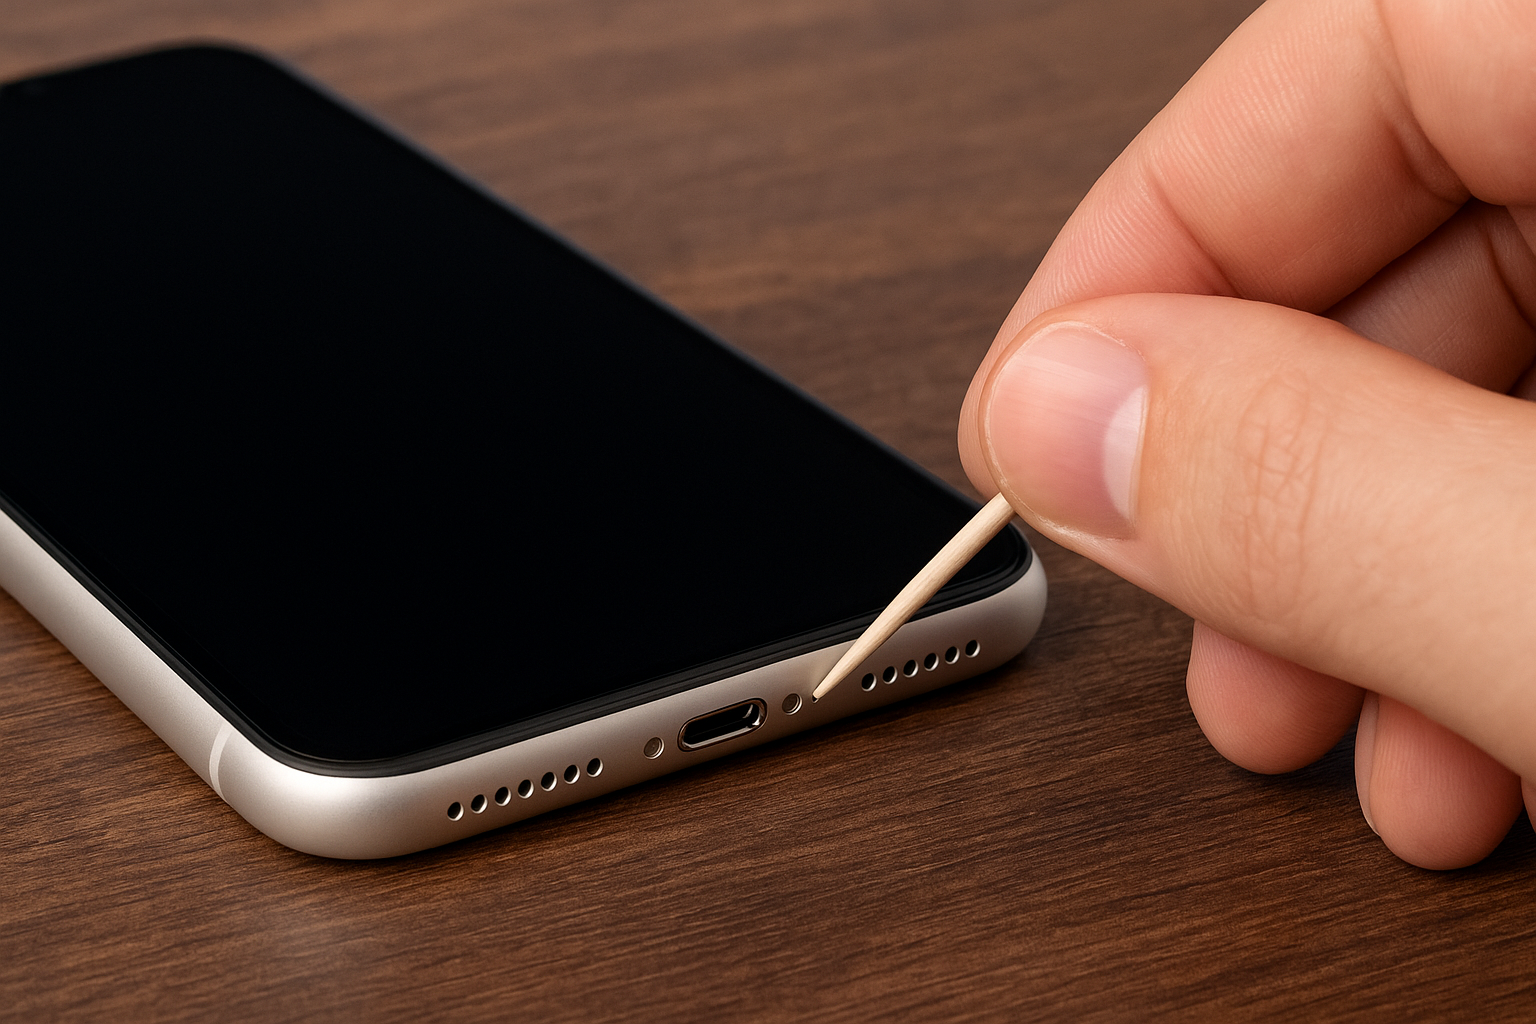
3. Use a Toothpick or Plastic Tool
Gently insert a non-metal toothpick or plastic tool into the port. Very carefully scrape or scoop out any visible debris. Hold the phone with the port facing downward, so gravity helps the dirt fall out.
Be extra cautious not to damage the metal pins inside.
4. Use a Soft Brush or Compressed Air
- Soft Brush: Use a dry, clean toothbrush or an anti-static brush to gently sweep the inside of the port.
- Compressed Air (optional): Short, controlled bursts of compressed air can dislodge stubborn dust. Always keep the can upright to avoid releasing moisture.
5. Repeat as Necessary
Check again with your flashlight. Repeat the process until the port looks clean and free of obstructions.
6. Test the Charger
Once clean, plug in your charger. It should fit snugly and start charging immediately. If the problem persists, try a different cable or consider visiting an Apple-authorized repair center.
What Not to Do When Cleaning Your iPhone Charging Port
Avoid these common mistakes:
- ❌ Inserting metal pins or sharp objects
- ❌ Spraying liquids directly into the port
- ❌ Using vacuum cleaners or hair dryers
- ❌ Applying excessive force or poking aggressively
How Often Should You Clean Your Charging Port?
If you keep your iPhone in your pocket or bag regularly, the charging port can accumulate dust faster. Cleaning it once every 1-2 months or when charging issues appear is a good rule of thumb.
Still Not Charging? Try These Alternatives
If cleaning the port doesn’t solve the problem, here are some other things to try:
- ✅ Test another Apple-certified charging cable
- ✅ Restart your iPhone
- ✅ Check for software updates
- ✅ Inspect the charging adapter and power outlet
- ✅ Reset settings (if necessary)
If all else fails, visit an Apple Store or certified repair center. There could be a hardware fault in the charging port or battery.


Leave a Reply